こんにちは。
「OpenSearchインストール」でデータベースが動くようにし、
「OpenSearch Dashboardsインストール」で、ダッシュボードも使えるようになり、
「OpenSearchのユーザー追加」で、一般ユーザーを登録することができました。
ここではやっとデータ投入をやっていこうと思います。
私のクライアントPCの Lubuntu 24.04.2でやっています。
何か全文検索したそうな良いデータは無いものか?と考えた末、このホームページの HTMLファイルの内容が使えそうなので、それをやってみようと思います。
[homepage_index] という名前のインデックスにして、構成はシンプルに、
{キー:バリュー}
{ filename(ファイル名) : htmltext(そのファイルの内容:テキスト形式) }
とします。
まずは、インデックスの作成およびフィールドのデータ型の特定をします。
この作業は「マッピング」って言いますね。
subro@Lubuntu2404:~$ curl -s -u 'subro:パスワード' -k -X PUT https://UbuntuServer2404-1:9200/homepage_index -H 'Content-Type: application/json' -d '
{
  "mappings": {
    "properties": {
      "filename": { "type": "text" },
      "htmltext": { "type": "text" }
    }
  }
}
'  ← ここまでがコマンドです

{"acknowledged":true,"shards_acknowledged":true,"index":"homepage_index"}  ← コマンドの実行結果です
インデックスの枠(データの容れもの)ができて、マッピングもできました。
マッピングはしなくても良いのですが、ちゃんとデータ型を定義しておいたほうが、検索精度とスピートがアップしたはずです。
ここからデータ投入になりますが、Pythonを使います。
OpenSearchは Python用のモジュールを出していますね。
opensearch-project/opensearch-py
opensearch-pyモジュールをダウンロード(インストール)しますが、Ubuntuの Python環境に入れようとすると「これは Debianが用意しているモジュールじゃないので(Pythonの)仮想環境に入れるべき」とエラーになってしまいます。
ここでのテーマではないですが、事前準備としてPython仮想環境を作ります。
ワーキングディレクトリとして [/home/subro/work/python]ディレクトリで作業しています。
venvモジュールを直下の [venv]ディレクトリに入れます。
subro@Lubuntu2404:~/work/python$ python3 -m venv venv

subro@Lubuntu2404:~/work/python$ ls -l venv
合計 16
drwxrwxr-x 2 subro subro 4096 11月  1 07:05 bin
drwxrwxr-x 3 subro subro 4096 11月  1 07:05 include
drwxrwxr-x 3 subro subro 4096 11月  1 07:05 lib
lrwxrwxrwx 1 subro subro    3 11月  1 07:05 lib64 -> lib
-rw-rw-r-- 1 subro subro  167 11月  1 07:05 pyvenv.cfg
Python仮想環境を利用するための準備ができました。
コードを開発・実行するための環境として、[textjson]ディレクトリを作り、そこに移動します。
subro@Lubuntu2404:~/work/python$ mkdir textjson

subro@Lubuntu2404:~/work/python$ cd textjson

subro@Lubuntu2404:~/work/python/textjson$
Pythonの仮想環境に入ります。
さっき作った [venv/bin]ディレクトリにある [activate]ってファイルを sourceコマンドで読み込ませます。
subro@Lubuntu2404:~/work/python/textjson$ source ../venv/bin/activate

(venv) subro@Lubuntu2404:~/work/python/textjson$
コマンドプロンプトの頭に「(venv)」って入っていますね。
これでシステムにインストールされた Pythonとは(ある意味)切り離された環境で Pythonを使うことができます。
これでやっと opensearch-pyモジュールをダウンロード(インストール)できます。
(venv) subro@Lubuntu2404:~/work/python/textjson$ python3 -m pip install opensearch-py
Collecting opensearch-py
  Downloading opensearch_py-2.7.1-py3-none-any.whl.metadata (6.9 kB)
Collecting requests<3.0.0,>=2.32.0 (from opensearch-py)
  Downloading requests-2.32.3-py3-none-any.whl.metadata (4.6 kB)
Collecting python-dateutil (from opensearch-py)
  Downloading python_dateutil-2.9.0.post0-py2.py3-none-any.whl.metadata (8.4 kB)
Collecting certifi>=2024.07.04 (from opensearch-py)
  Downloading certifi-2024.8.30-py3-none-any.whl.metadata (2.2 kB)
Collecting Events (from opensearch-py)
  Downloading Events-0.5-py3-none-any.whl.metadata (3.9 kB)
Collecting urllib3!=2.2.0,!=2.2.1,<3,>=1.26.19 (from opensearch-py)
  Downloading urllib3-2.2.3-py3-none-any.whl.metadata (6.5 kB)
Collecting charset-normalizer<4,>=2 (from requests<3.0.0,>=2.32.0->opensearch-py)
  Downloading charset_normalizer-3.4.0-cp312-cp312-manylinux_2_17_x86_64.manylinux2014_x86_64.whl.metadata (34 kB)
Collecting idna<4,>=2.5 (from requests<3.0.0,>=2.32.0->opensearch-py)
  Downloading idna-3.10-py3-none-any.whl.metadata (10 kB)
Collecting six>=1.5 (from python-dateutil->opensearch-py)
  Downloading six-1.16.0-py2.py3-none-any.whl.metadata (1.8 kB)
Downloading opensearch_py-2.7.1-py3-none-any.whl (325 kB)
   ━━━━━━━━━━━━━━━━━━━━━━━━━━━━━━━━━━━━━━━━ 325.4/325.4 kB 9.0 MB/s eta 0:00:00
Downloading certifi-2024.8.30-py3-none-any.whl (167 kB)
   ━━━━━━━━━━━━━━━━━━━━━━━━━━━━━━━━━━━━━━━━ 167.3/167.3 kB 10.2 MB/s eta 0:00:00
Downloading requests-2.32.3-py3-none-any.whl (64 kB)
   ━━━━━━━━━━━━━━━━━━━━━━━━━━━━━━━━━━━━━━━━ 64.9/64.9 kB 14.1 MB/s eta 0:00:00
Downloading urllib3-2.2.3-py3-none-any.whl (126 kB)
   ━━━━━━━━━━━━━━━━━━━━━━━━━━━━━━━━━━━━━━━━ 126.3/126.3 kB 9.1 MB/s eta 0:00:00
Downloading Events-0.5-py3-none-any.whl (6.8 kB)
Downloading python_dateutil-2.9.0.post0-py2.py3-none-any.whl (229 kB)
   ━━━━━━━━━━━━━━━━━━━━━━━━━━━━━━━━━━━━━━━━ 229.9/229.9 kB 16.1 MB/s eta 0:00:00
Downloading charset_normalizer-3.4.0-cp312-cp312-manylinux_2_17_x86_64.manylinux2014_x86_64.whl (143 kB)
   ━━━━━━━━━━━━━━━━━━━━━━━━━━━━━━━━━━━━━━━━ 143.8/143.8 kB 14.2 MB/s eta 0:00:00
Downloading idna-3.10-py3-none-any.whl (70 kB)
   ━━━━━━━━━━━━━━━━━━━━━━━━━━━━━━━━━━━━━━━━ 70.4/70.4 kB 10.8 MB/s eta 0:00:00
Downloading six-1.16.0-py2.py3-none-any.whl (11 kB)
Installing collected packages: Events, urllib3, six, idna, charset-normalizer, certifi, requests, python-dateutil, opensearch-py
Successfully installed Events-0.5 certifi-2024.8.30 charset-normalizer-3.4.0 idna-3.10 opensearch-py-2.7.1 python-dateutil-2.9.0.post0 requests-2.32.3 six-1.16.0 urllib3-2.2.3
インストールできました。
コレを使って本家ドキュメントにあるコードをパクりながら以下のようなものを作りました。
単に1ファイル毎に APIを叩いてデータを挿入しているだけです。
[textjson.py]
import os
import glob
from opensearchpy import OpenSearch
from pathlib import Path
import json

client = OpenSearch(
    hosts = [{'host': 'UbuntuServer2404-1', 'port': 9200}],
    http_compress = True,
    http_auth = ('subro', 'パスワード'),
    use_ssl = True,
    verify_certs = False
)

files = glob.glob(os.environ['HOME'] + "/work/homepage/*.html")

for file in files:

    content = Path(file).read_text()
    file_name = os.path.basename(file)

    document = { 'filename': file_name , 'htmltext': content }

    response = client.index(
        index = 'homepage_index',
        body = document,
        refresh = True
    )

    print (response)
実行します。
(venv) subro@Lubuntu2404:~/work/python/textjson$ python3 textjson.py

〜〜〜 省略 〜〜〜

/home/subro/work/python/venv/lib/python3.12/site-packages/urllib3/connectionpool.py:1099: InsecureRequestWarning: Unverified HTTPS request is being made to host 'ubuntuserver2404-1'. Adding certificate verification is strongly advised. See: https://urllib3.readthedocs.io/en/latest/advanced-usage.html#tls-warnings
  warnings.warn(
{'_index': 'homepage_index', '_id': 'FVyu5JIBaThXcZnZhH68', '_version': 1, 'result': 'created', 'forced_refresh': True, '_shards': {'total': 2, 'successful': 1, 'failed': 0}, '_seq_no': 273, '_primary_term': 1}
データは入っていますね。
オレオレ証明書なんで証明書の検証をしないようにしているせいかワーニングが出ていますが、それはとりあえず無視で。
OpenSearch Dashboardsにログインしましょう。
私の環境では [http://UbuntuServer2404-1:5601] です。
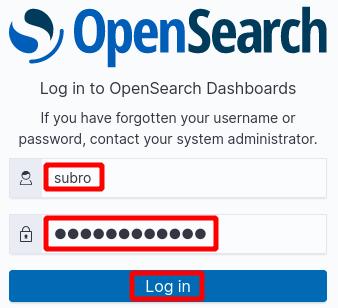
インデックスを作った [subro]ユーザーでログインします。
Log inを押します。
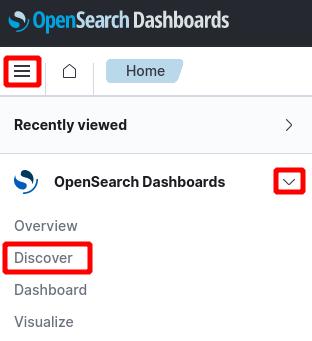
ハンバーガーメニューの三を押すと出てくるメニューから、
[OpenSerch Dashboards] - [Discover] と選択します。
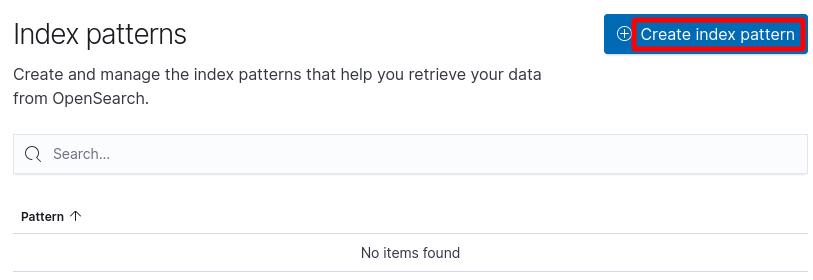
Create index patternを押します。
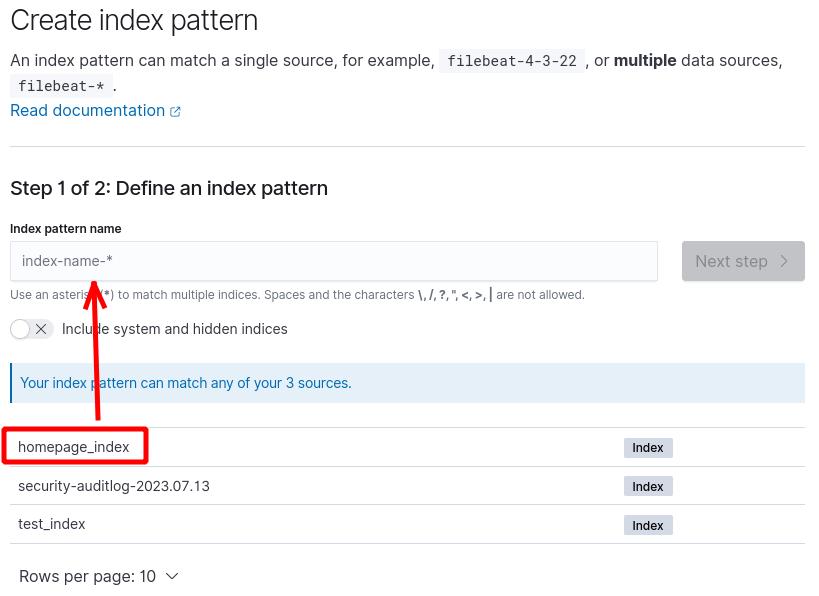
[Index pattern name] に何の条件も付けてないので、[subro]ユーザーが見ることのできるインデックスが全てリストアップされます。
[homepage_index]インデックスがありますね。
このインデックス名を [index pattern name] に書きます。
Next stepを押します。

Create index patternを押します。
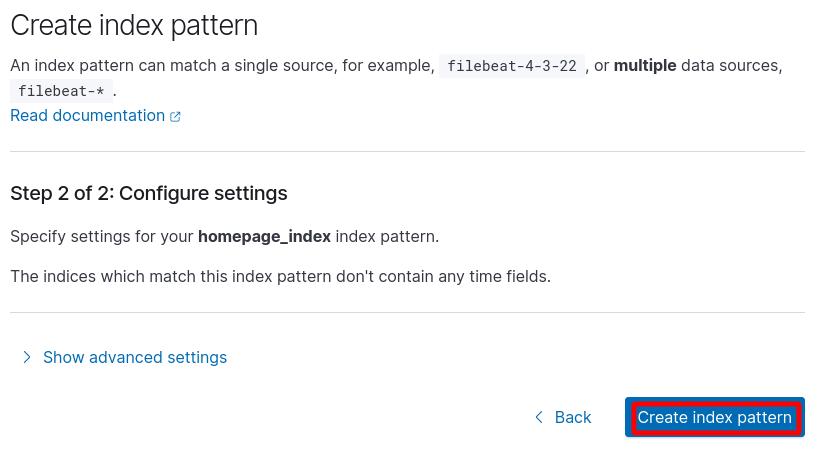
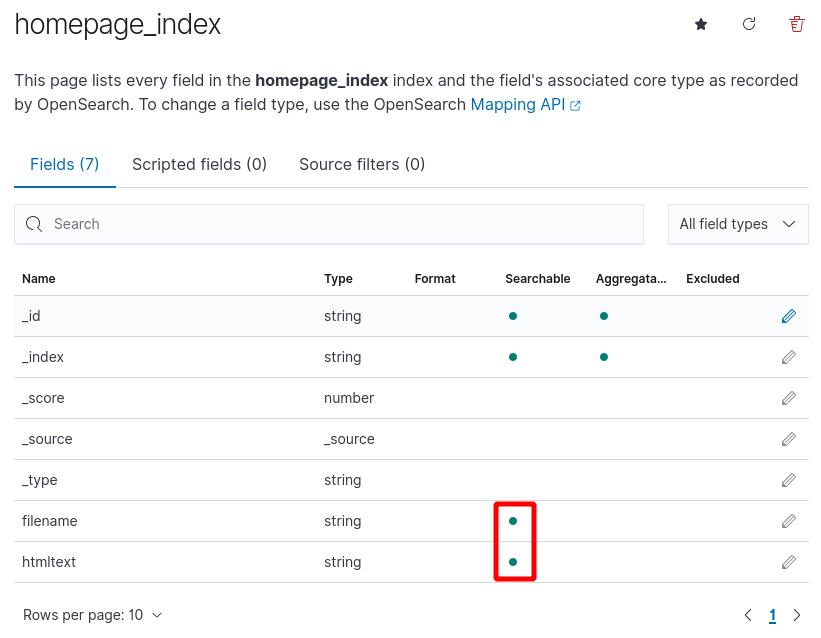
インデックスパターンができました。
[filename] と [htmltext] が検索可能になっています。
改めてハンバーガーメニューの三を押すと出てくるメニューから、
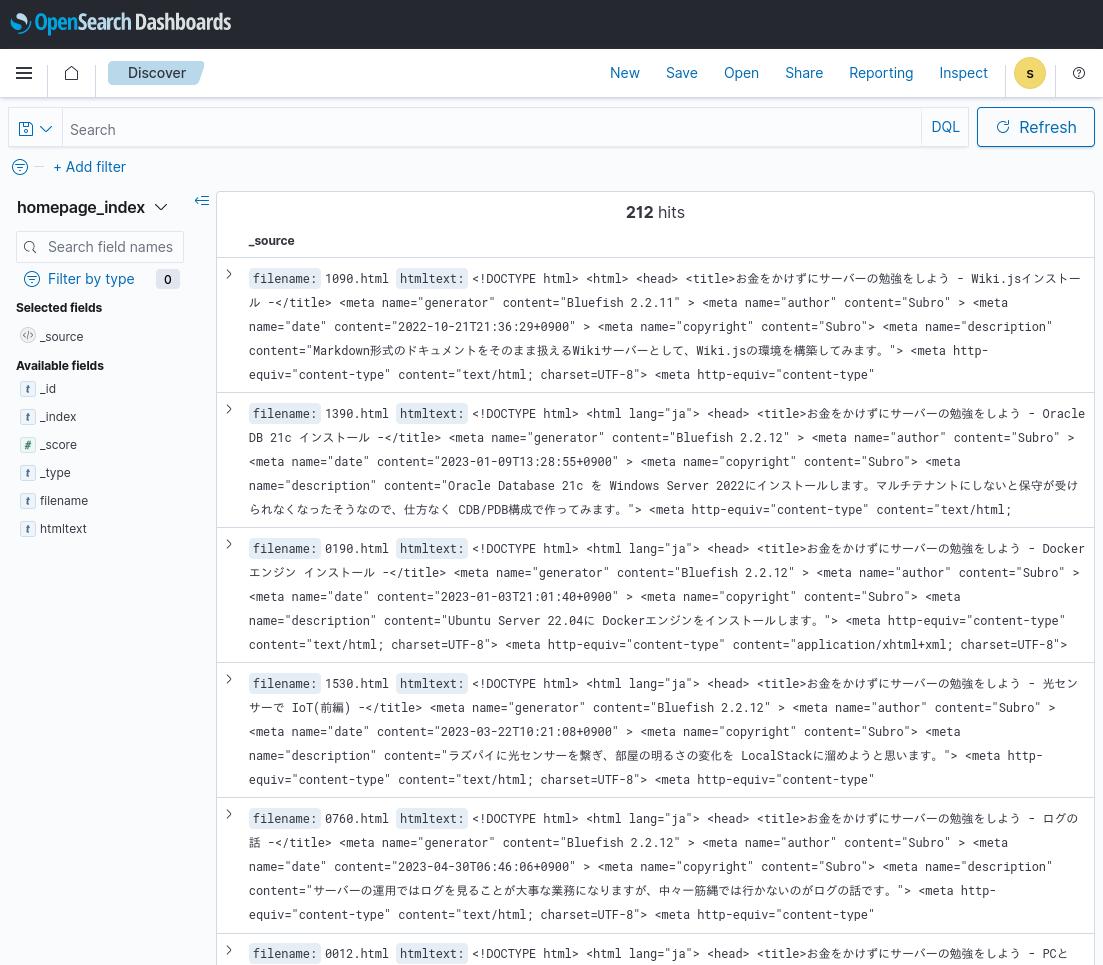
[OpenSerch Dashboards] → [Discover] と選択します。
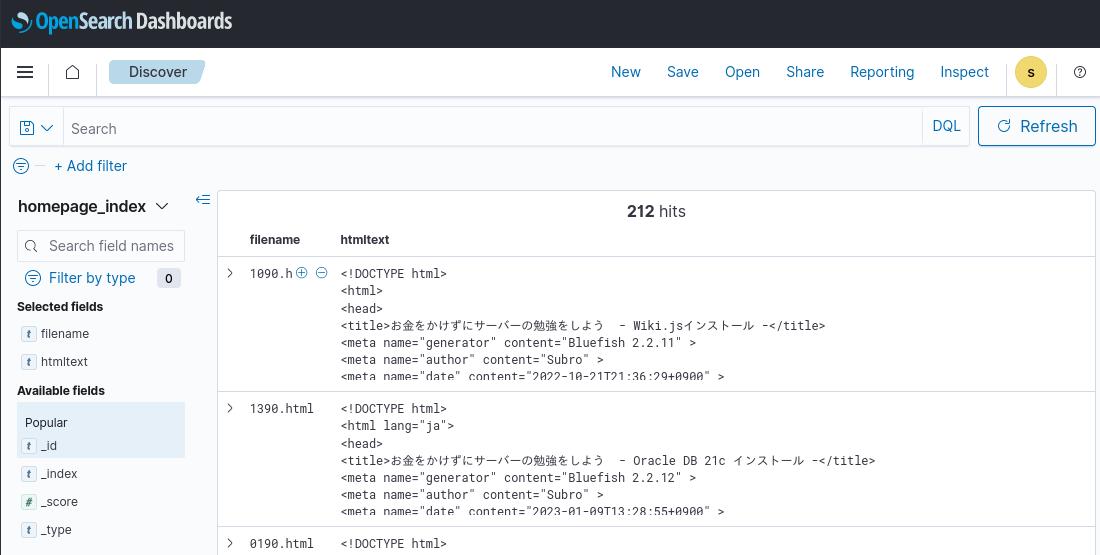
何やら出てきました。
検索条件を付けていないので、全274件が表示されています。
表示する要素を [filename] と [htmltext] に限定します。
左側の赤枠の部分にマウスを持っていくと+が出ますから、それを押します。
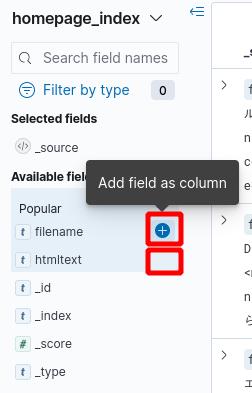
[htmltext] でも同様にやります。
このようになりました。
[Selected fields] に上で選んだ 2つのフィールドがあって、右の検索結果では [filename] と [htmltext] だけが表示されています。
当ホームページの記事から Windowsに関する記事を探してみます。
ここに検索文字列(Windows)を入れて、Enterを押します。

そうすると「Windows」って文言が入っているものが抽出されます。
該当箇所が黄色くなっていますね。
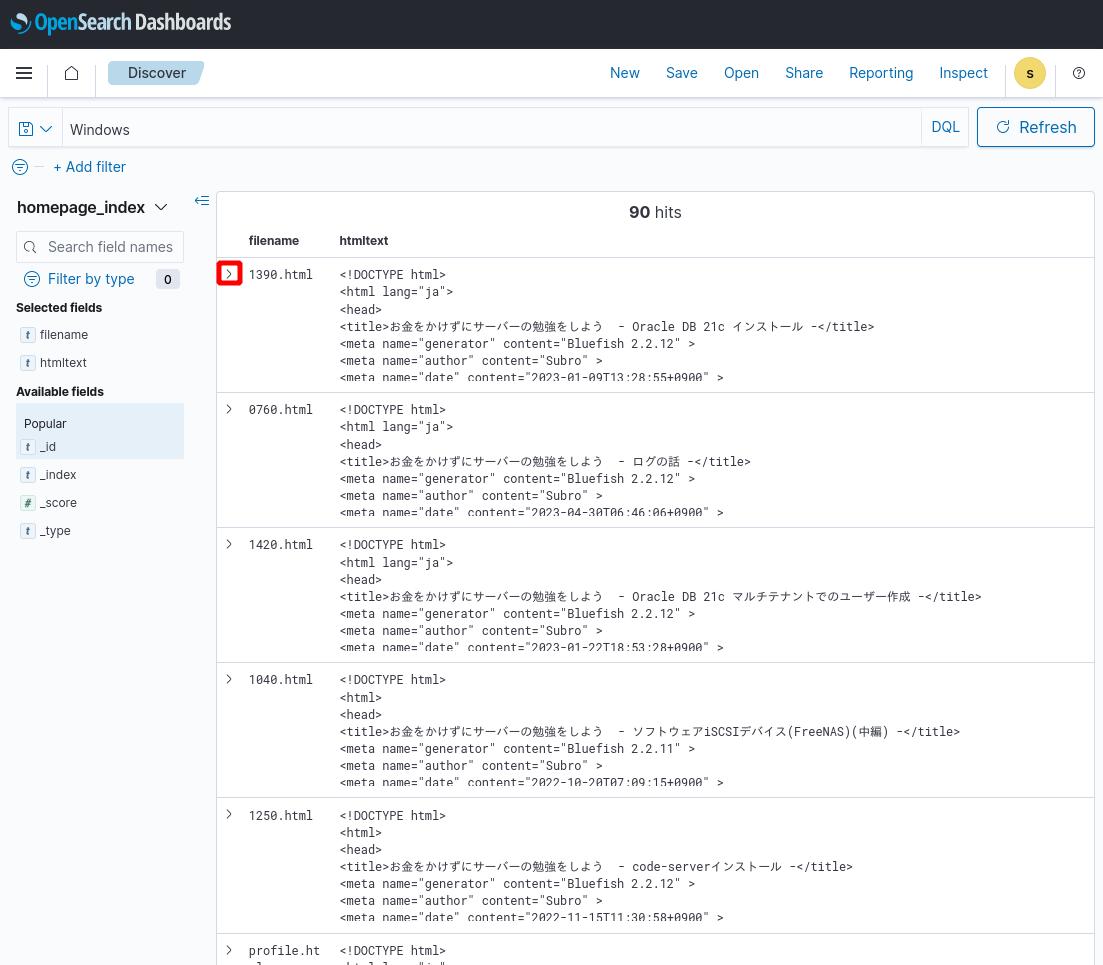
こんな感じで使うことができます。
さて、試しに日本語の「お金をかけずに」で検索してみます。
何故か「を」も検索対象になってしまっています。
これは検索が日本語に対応していないことが原因と思いますので、「OpenSearchで日本語の検索をする」に書いています。